VirtualBox
This guide will cover the following steps:
-
Create a new Virtual Machine
-
Create a new Virtual disk (VDI, dynamic allocation etc...)
-
Modifying VirtualBox settings (allocating physical and Video memory, selecting OS Type, CPU acceleration etc.)
-
Loading Parrot Security ISO
-
Booting Parrot Security ISO (initial info, location, timezone etc.)
-
Parrot Security disk partitioning
-
Finalizing installation and running Parrot Security on VirtualBox.
Things you need to install
If the OS you are using is Windows or MacOS, here is the link to the VirtualBox installer.
On GNU/Linux it is the same, but you can install it via CLI:
sudo apt install virtualbox
Follow the same steps EXACTLY to install and run Parrot via VirtualBox in your machine.
Step 1 - Create a new Virtual Machine
Before proceeding, make sure you have successfully installed VirtualBox. On GNU/Linux you can check this by opening a terminal and typing virtualbox and/or the icon to start VirtualBox will be visible in the menu. For other operating systems there will be a similar icon to start it.
Once you’ve installed VirtualBox:
- Open it.
- Click on New to create a New Virtual Machine.
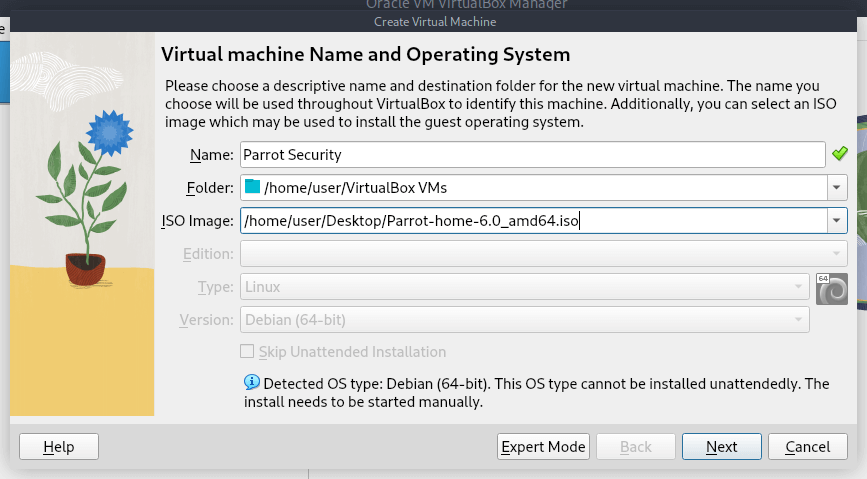
Step 1.1 - Enter a name for your Virtual Machine
Enter Parrot Security as the name. Load Parrot Security ISO (click on the arrow at your right, and search for the ISO in the download folder.) and proceed, Type and Version will be detected automatically.
Important: if your disk size is mismatched, you might have a corrupt disk. Refer to Parrot Security chapter through this documentation for size related info. You can also do a SHA1 check to ensure your disk is not corrupted.
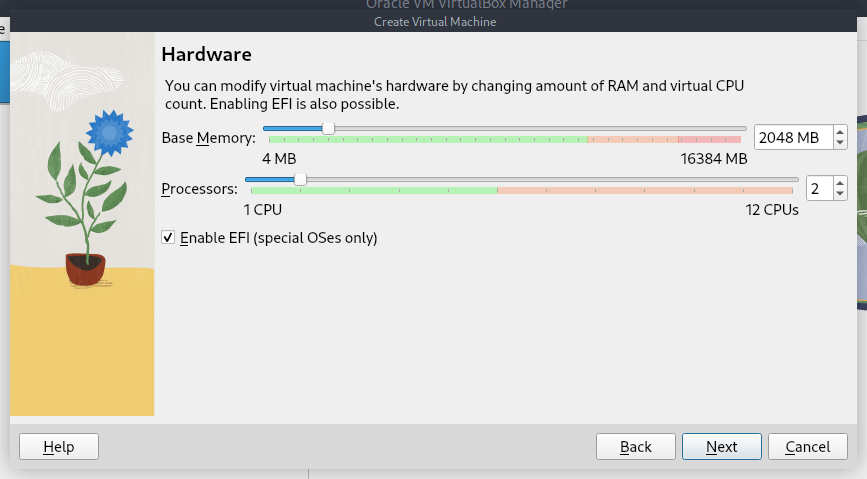
Step 1.2 - Allocate RAM and CPU
The OS can run on machines with 512 MB of RAM and 2 cores, but at least 2 GB and 2 cores are strongly recommended for both Parrot Security and Home Editions.
Choose the best setting for your machine, check "Enable EFI" checkbox and click Next.
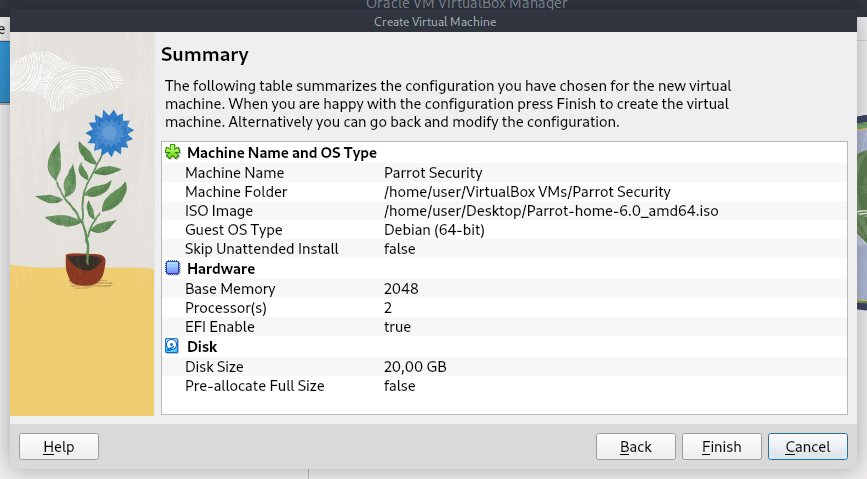
Step 1.3 - Create a Virtual Hard Drive
On the next screen select Create a Virtual Hard Disk Now. Set the disk size at 20 GB for Home Edition and 40 GB for Security Edition
This will create a Dinamically Allocated Disk, if you want to have the entire disk size, check "Pre-Allocated Full Size"
Click Next and proceed.

Double-check your settings in the screen similar to this and click Finish
Step 2 - Modify VirtualBox settings
So far, we’ve done the following, checklist for you:
- Created a New Virtual Machine
- Created Virtual Hard disk
- Fiddled with disk properties, type and size.
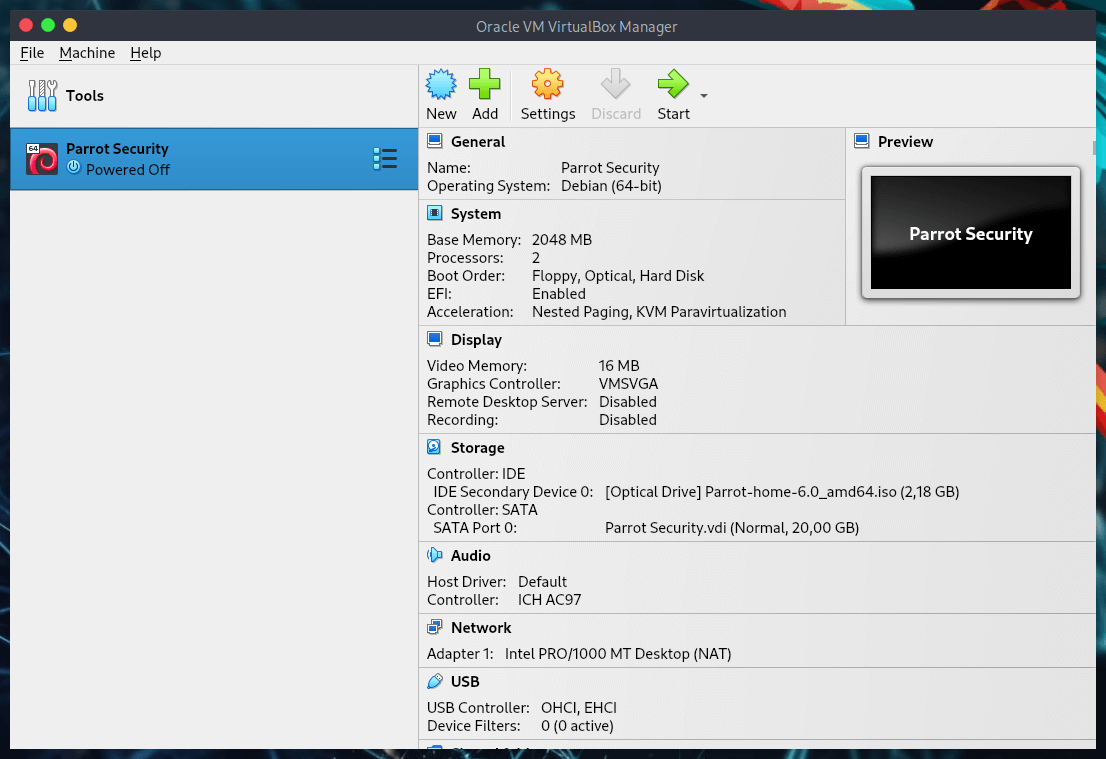
At this point you should see the following screen:
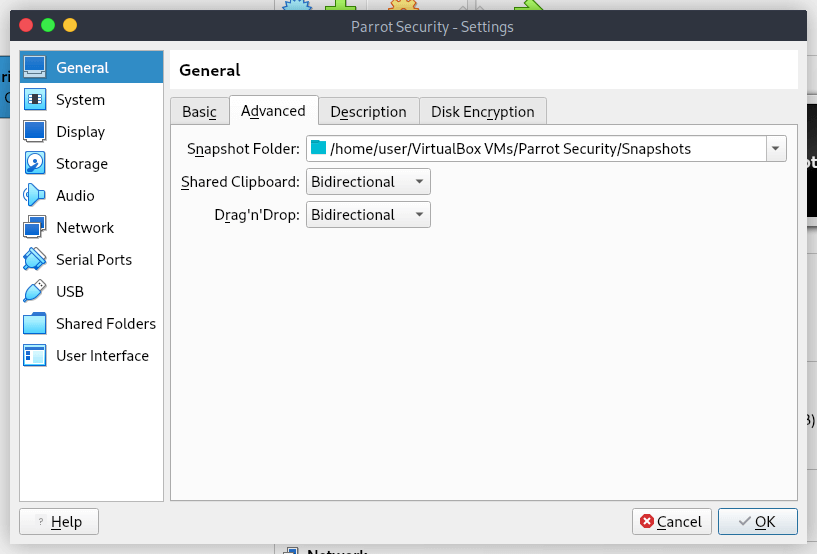
Step 2.1 - Enable shared Clipboard and Drag ’n’ Drop feature
Select General > Advanced TAB and change Shared Clipboard and Drag ’n’ Drop to Bidirectional. This will allow you to copy paste files from your HOST machine on the fly. Confirm by clicking OK.
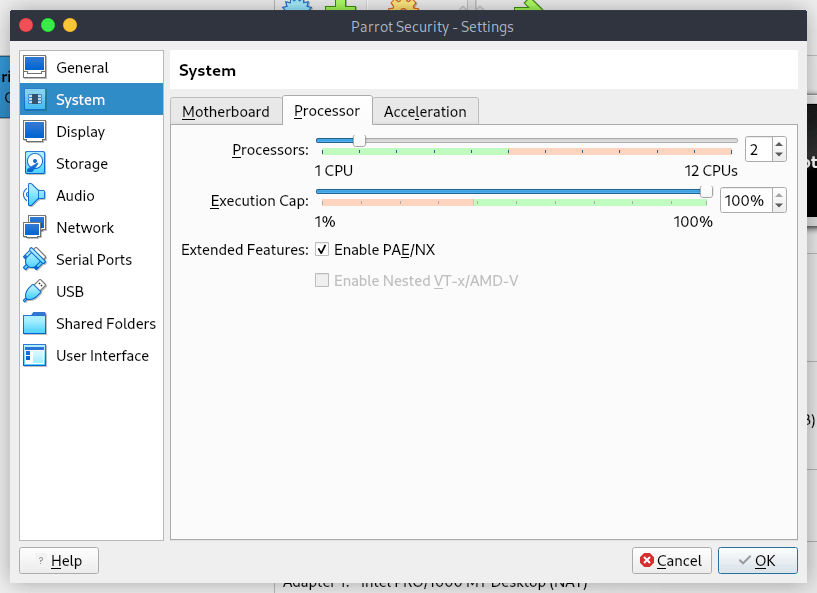
Step 2.2 - Update number of Processors and enable PAE/NX
As we already said, 2 cores works well. With 4, 6, and so on, performance will be much better.
You should not configure virtual machines to use more CPU cores than are available physically. This includes real cores, with no hyperthreads. See processor tab on VirtualBox website.
Check the box for Enable PAE/NX.
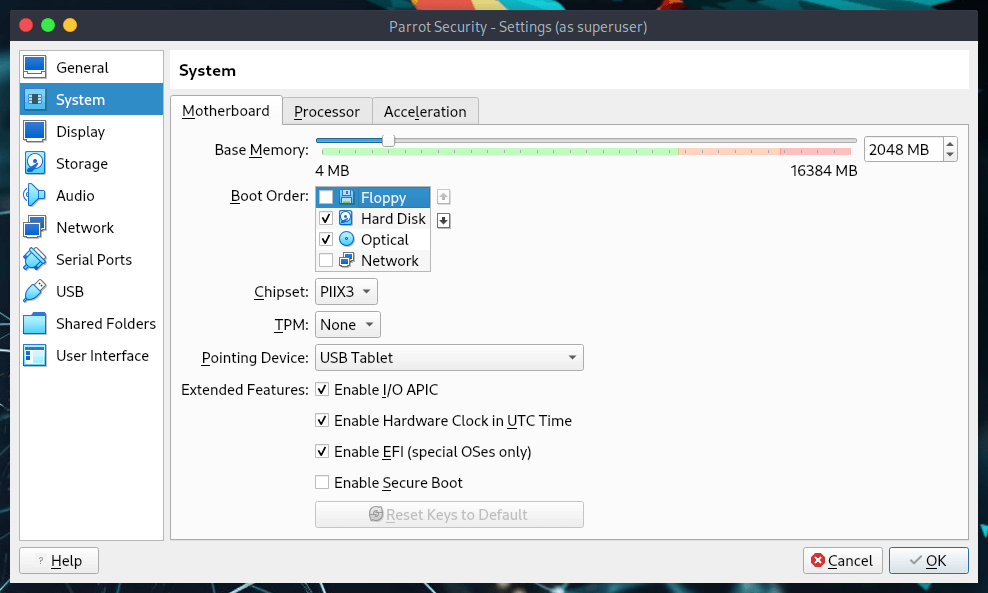
Step 2.3 - Update Virtual Motherboard options
Select System > Motherboard, un-check Floppy (who has a floppy anymore?) and check the box to Enable I/O APIC.
Note that you can change base memory allocation in the same screen. We’ve set it to 2048 MB previously. If your machine got 8.00 GB RAM, it means that you can allocate a lot more to make Parrot Security respond faster as a virtual machine.
If you feel your Virtualized Parrot Security is slow, you should increase this Base Memory allocation.
The calculations are as follows:
-
1.00 GB = 1024 MB
-
2.00 GB = 2048 MB
-
3.00 GB = 3072 MB
-
4.00 GB = 4096 MB
and so on.
Multiply 1024 with the amount of Memory/RAM you want and put the value here.
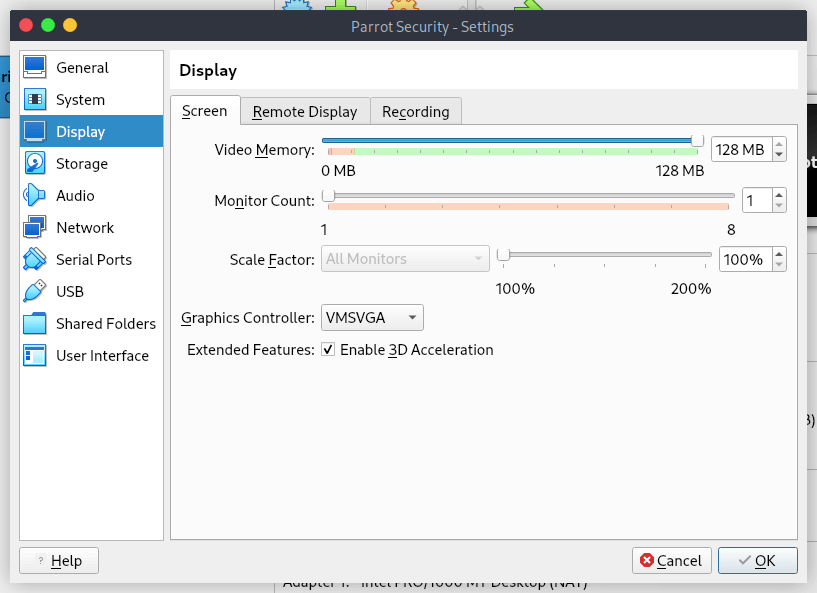
Step 2.4 - Allocate Video memory and 3D acceleration
Select Display > Screen > set Video Memory to 128 MB. This allows for a good responsive desktop environment.
Also check the box for Enable 3D Acceleration.
If you have more than one monitor, you can change your settings here too.
Step 2.5 - Update Parrot Security ISO Loading Settings
Select Storage > Controller: IDE and highlight Empty CD icon. Now on your right, you should be able to click on the little CD icon (it should be CD/DVD Drive: IDE Secondary Master already, if not change it) and select your downloaded ISO.
Once you select your downloaded ISO (in this case, it’s Parrot Security 6.0 ISO. See the properties and information’s changes accordingly.
if you want to test Parrot in live mode, check the "Live CD/DVD" box

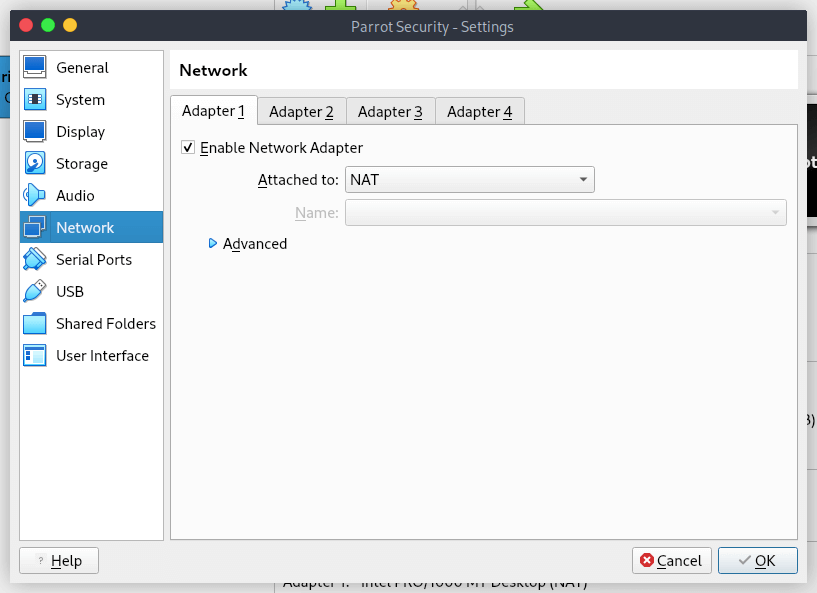
Step 3 - Select Network connection type
If your computer is connected to the internet, select NAT on Network > Adapter 1. You can enable more network adapters if you feel you want to do so.
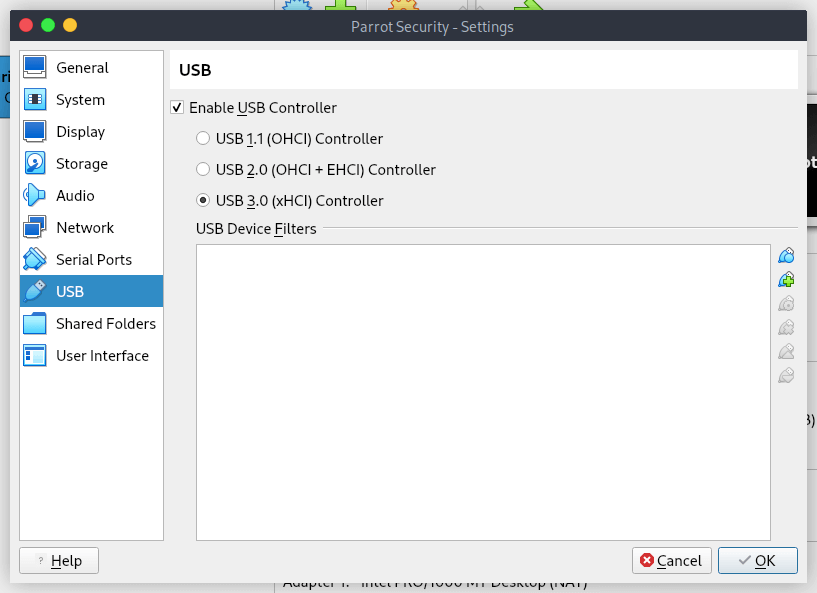
Step 3.1 - Enable USB 2.0 and 3.0 Controllers
Firstly, make sure you have installed the extension pack, or you will not be able to enable USB 2.0 and 3.0 controllers.
If you have not installed it, you can download it here
Then go to files > preferences > extensions, on the right there will be a + button where you can install the extension.
In GNU/Linux, you could also install it from the terminal with sudo apt install virtualbox-ext-pack
Once installed, it will enable VirtualBox Remote Desktop Protocol (VRDP) support and Host webcam passthrough support.
Step 4 - It's all set up?
Finally, by clicking on your new virtual machine, this is what you should see:
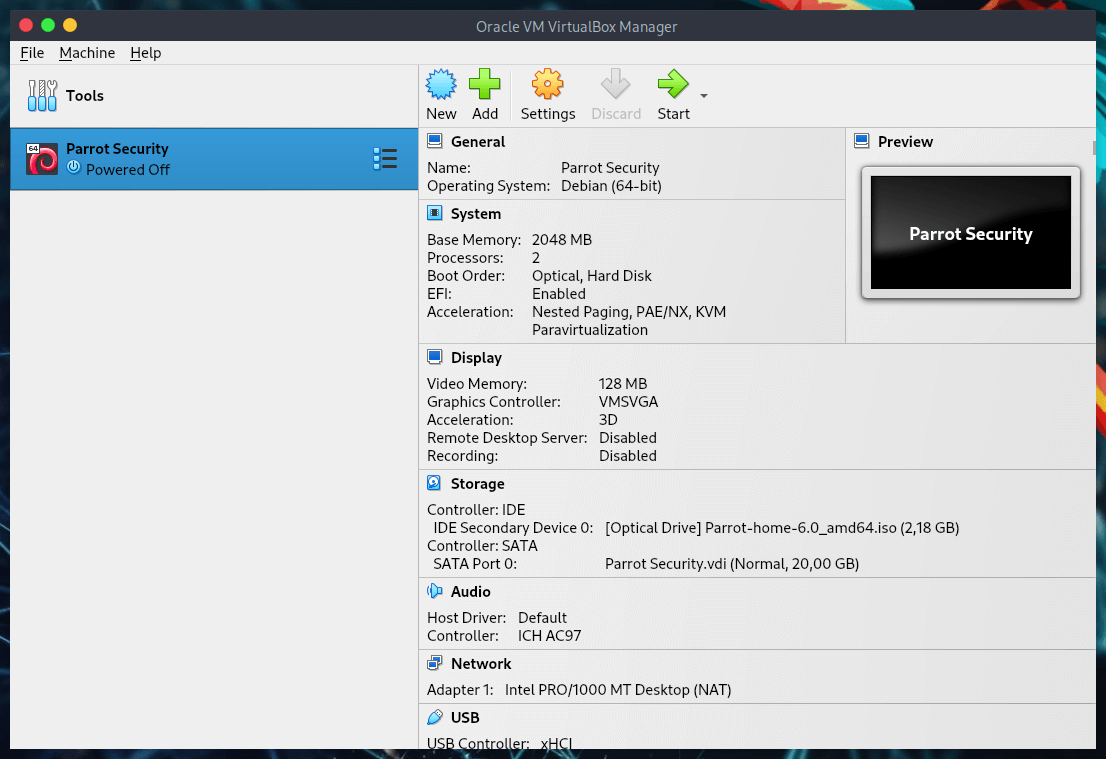
You can always change the configuration the way you prefer.
Step 5 - Booting Parrot Security ISO
From VirtualBox Main Screen, click on Start and boot Parrot Security.
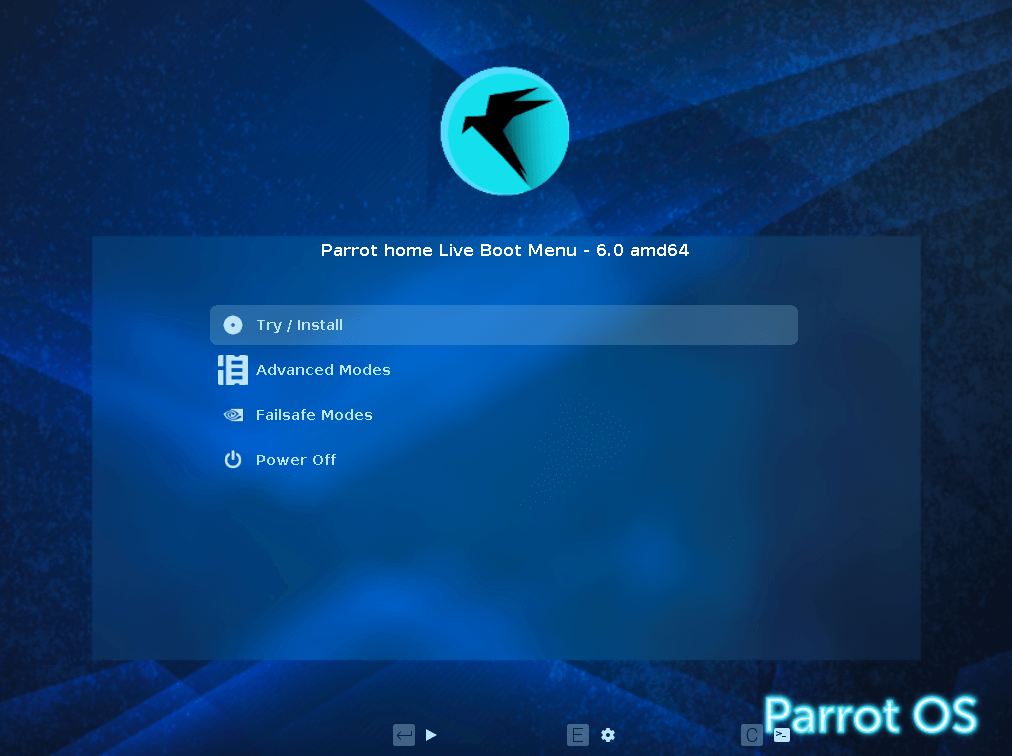
Step 5.1 - choose Install
From VirtualBox Main Screen, it will boot Parrot Security, click in the Virtual Machine, select Try/Install and then click Enter.
Step 5.2 - Choose the default Installer (Calamares)
Here you can test the OS in its entirety, then you can proceed with the installation.
Click on Install Parrot:
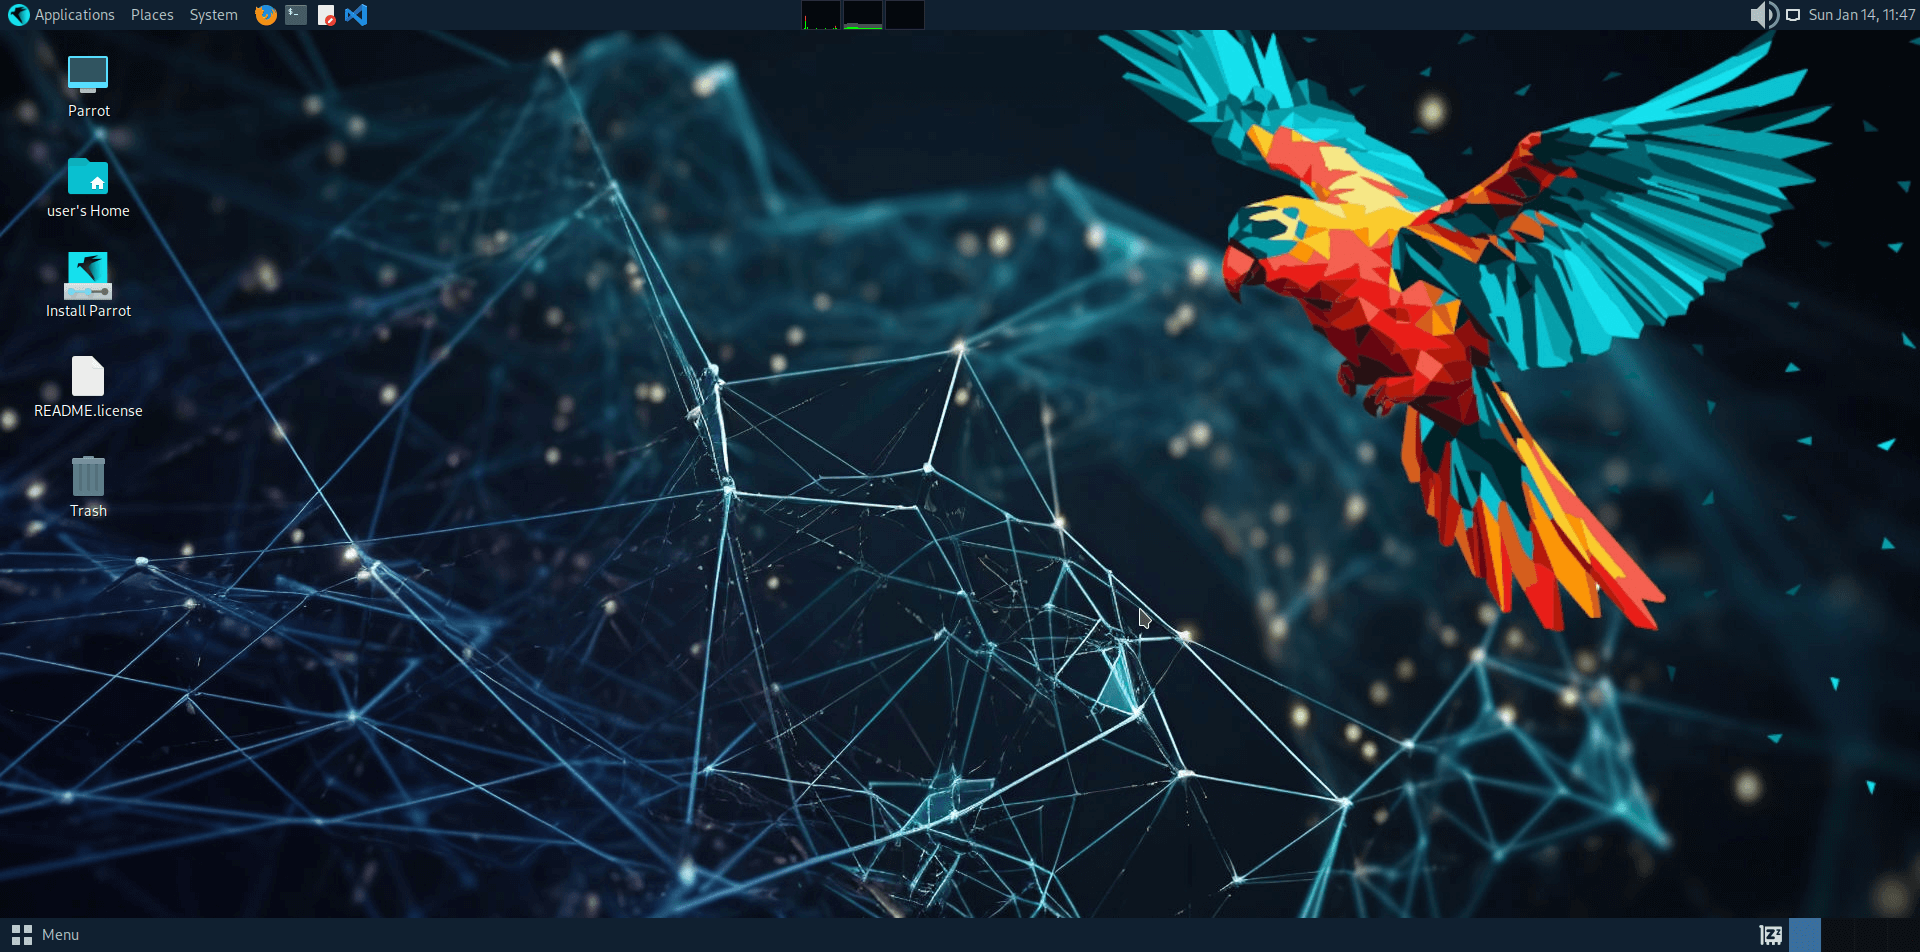
and the default installer, Calamares, will start.
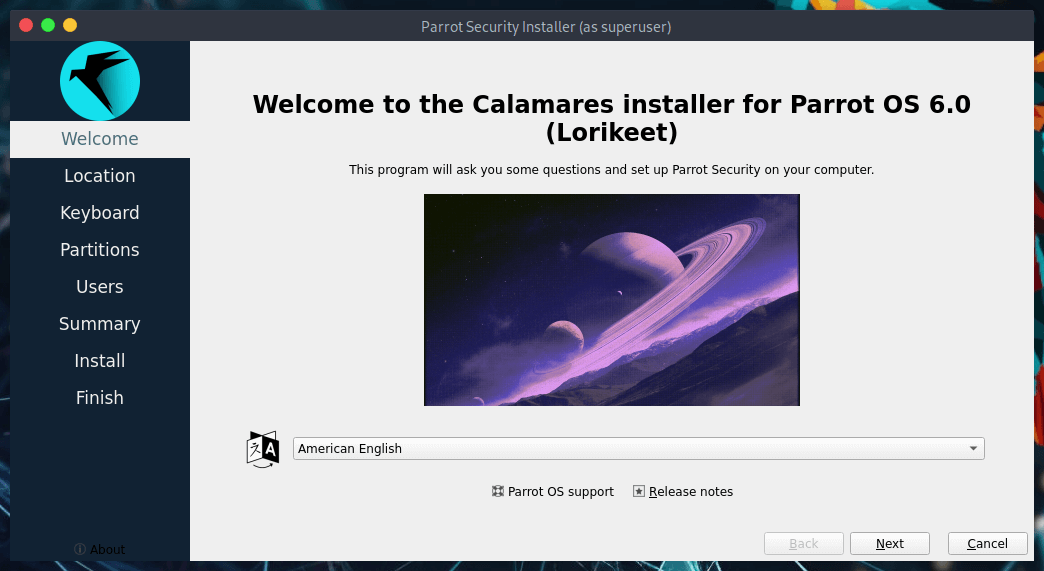
Step 5.3 - Select language
In this example we have chosen American English. Click on Next.
Step 5.4 - Select location
Here we have selected America and New York zone. Click on Next.

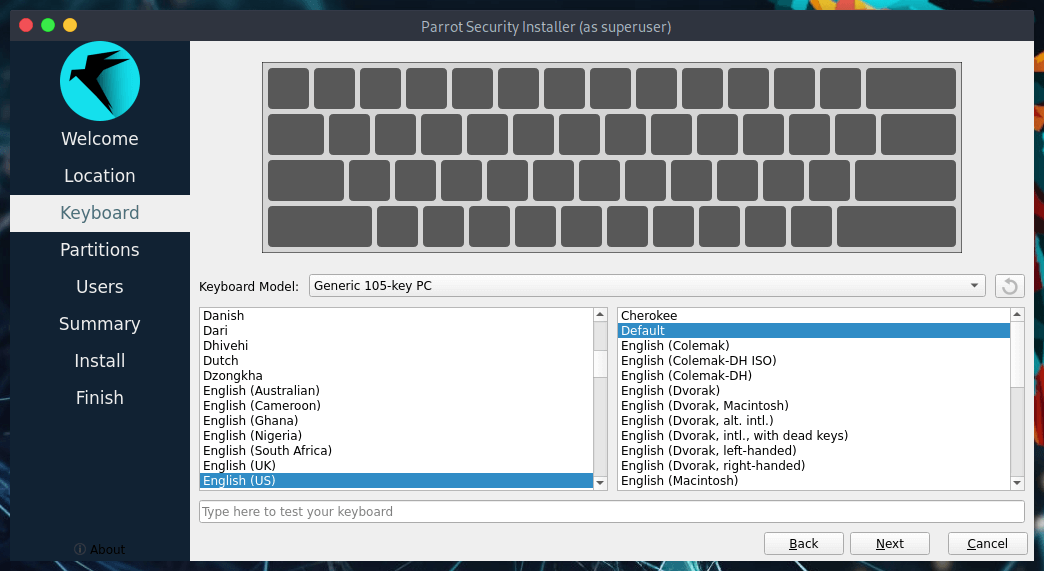
Step 5.5 - Select keyboard layout
Select the layout that best suits your keyboard, you can also test the keyboard's key where it says type here to test your keyboard. Click on Next.
Step 5.6 - Parrot Security disk partitioning
As this is all Virtualized, you can choose anything you want to.
We think that guided partitioning for less experienced users is recommended, 40 GB or more are enough, unless you are going to install a lot more programs or keep more files on your hard drive.
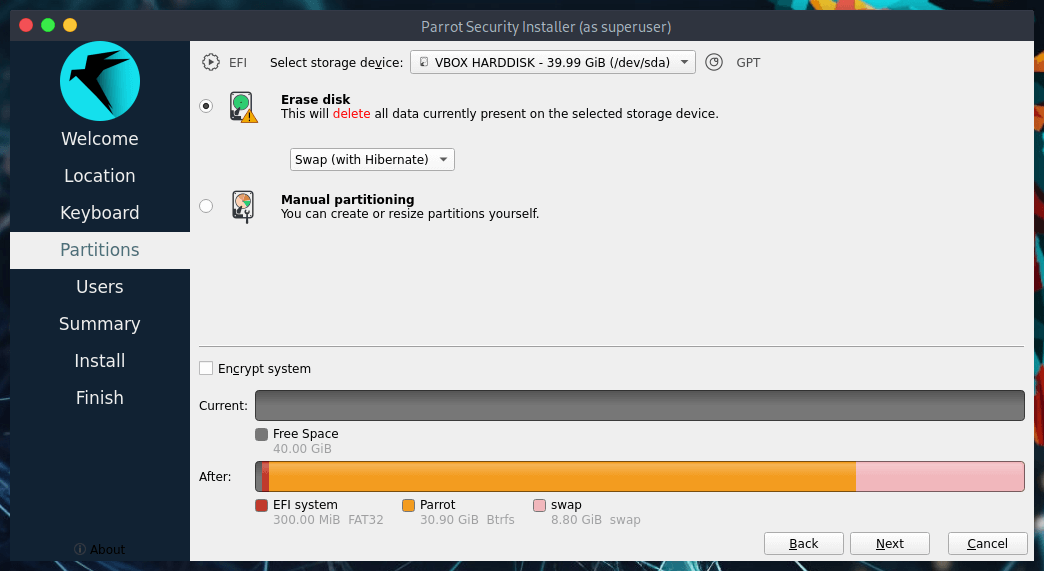
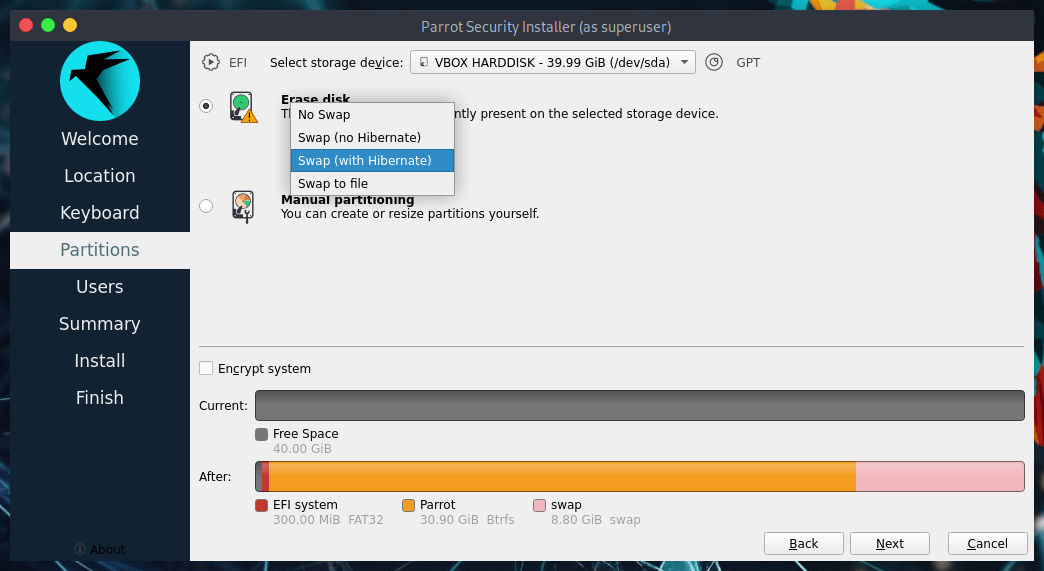
Here you can decide whether to enable swap or not. For more information about swap:
https://www.kernel.org/doc/html/latest/power/swsusp.html
If you want, you can also encrypt the system by adding a passphrase:

Step 5.7 - Creating a new user account
You will be asked to create a new user, for simplicity we have chosen a user. You can enter any name in here.
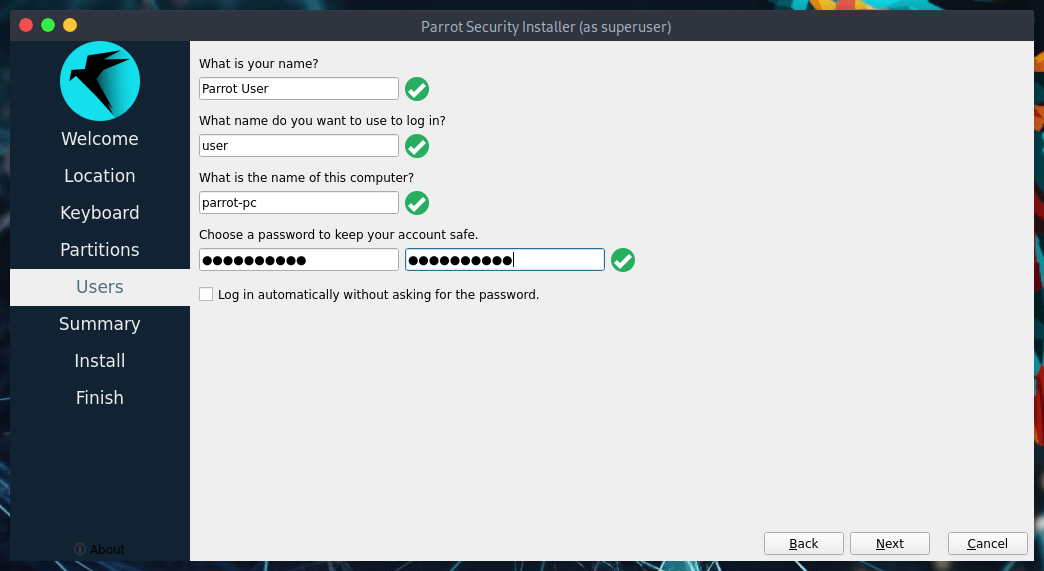
Then, click on Next
Step 6 Completing the installation process
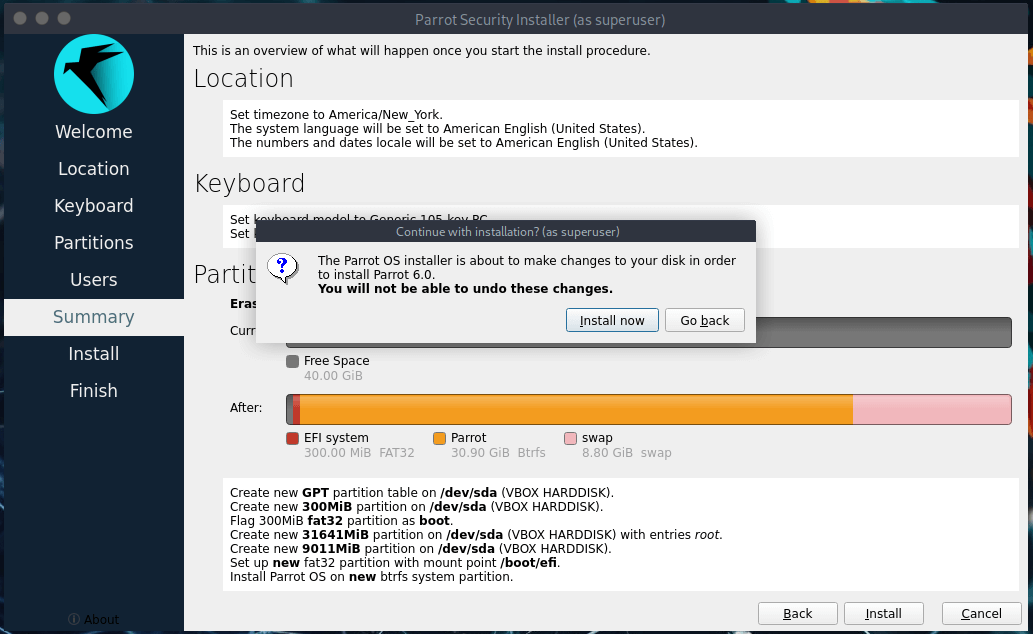
Finally, a summary of the choices made during the procedure:
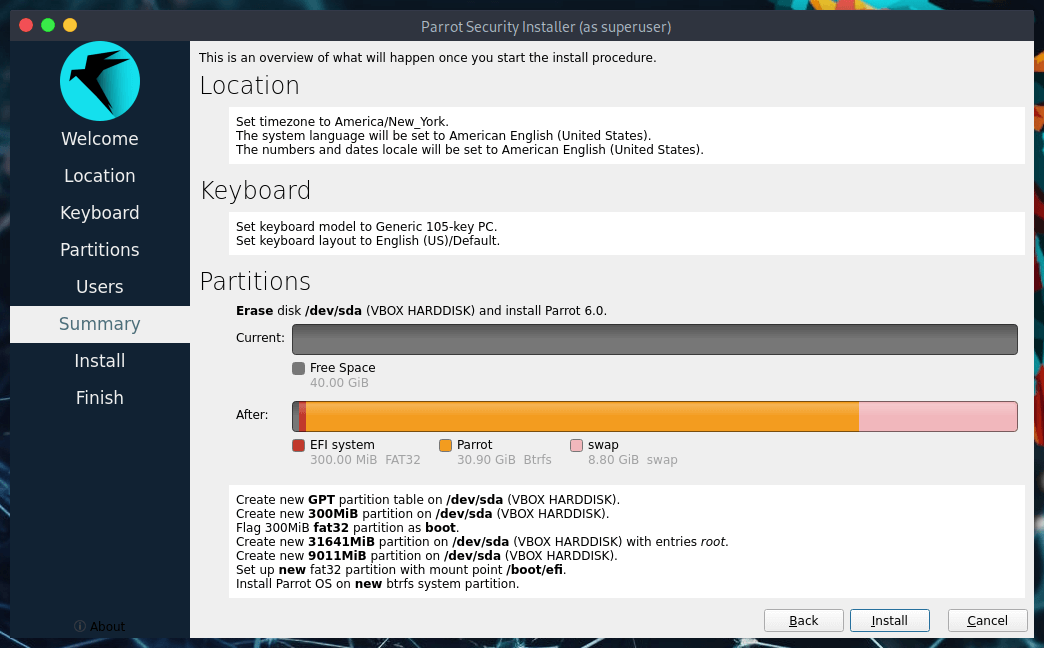
You can decide whether to change the chosen settings, and then go back, or proceed with the installation of the system. Click on Install.
Confirm by clicking Install now
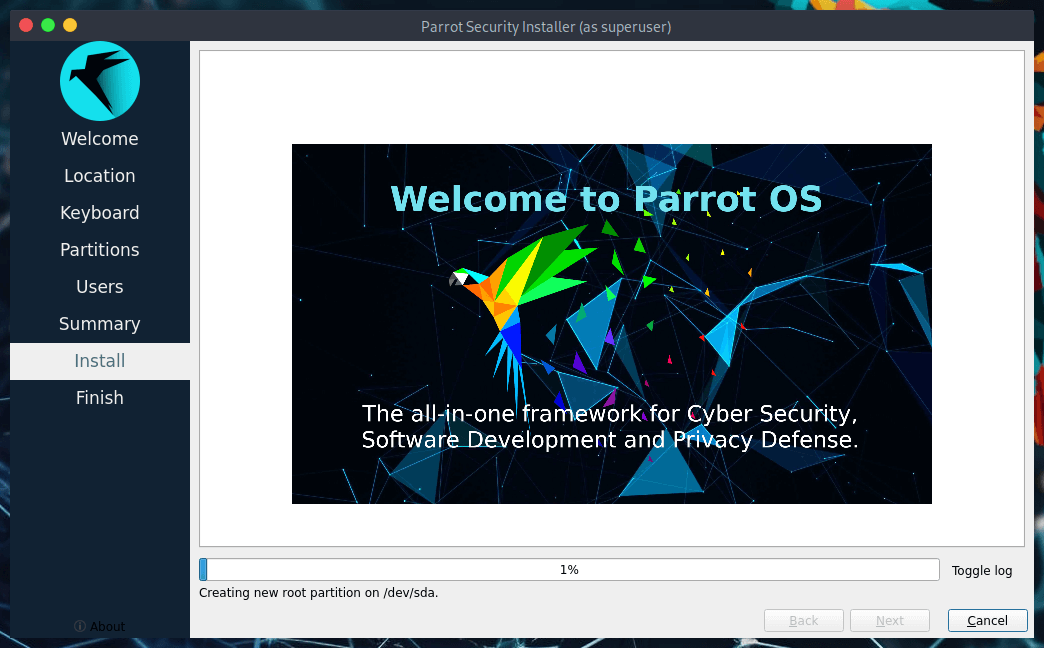
And wait for the installation to complete!
With an SSD (SATA), it takes a few minutes.
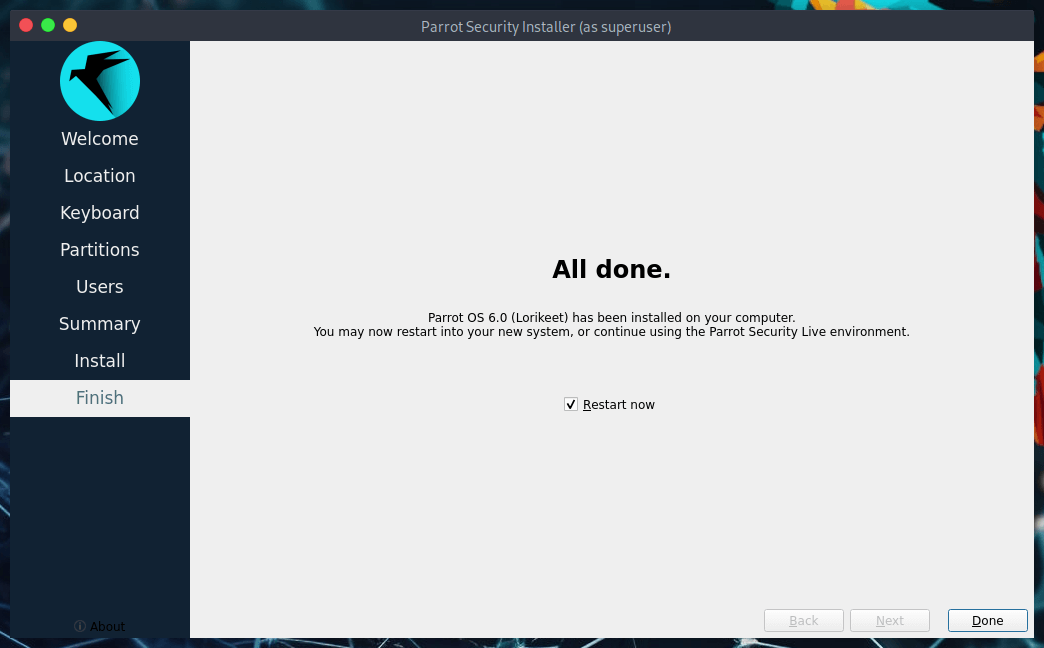
Well done! You have successfully installed ParrotOS on your computer!
Step 7: Login to Parrot Security for the first time
Enter your Password:
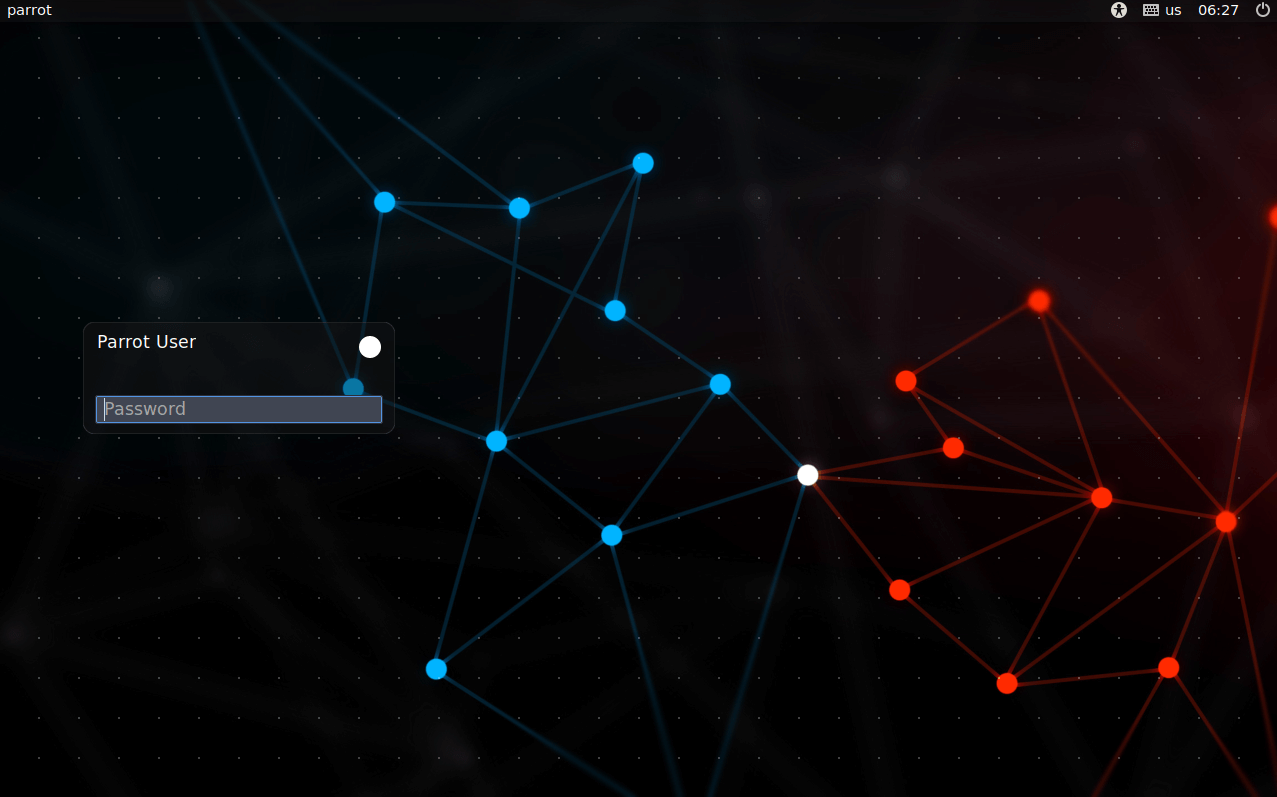
You just installed Parrot Security! Congrats!